Want to network with other bloggers?
Join the community that helps you:
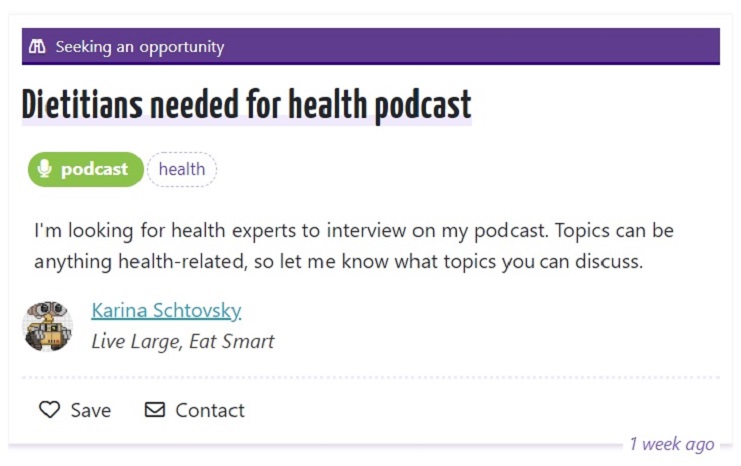
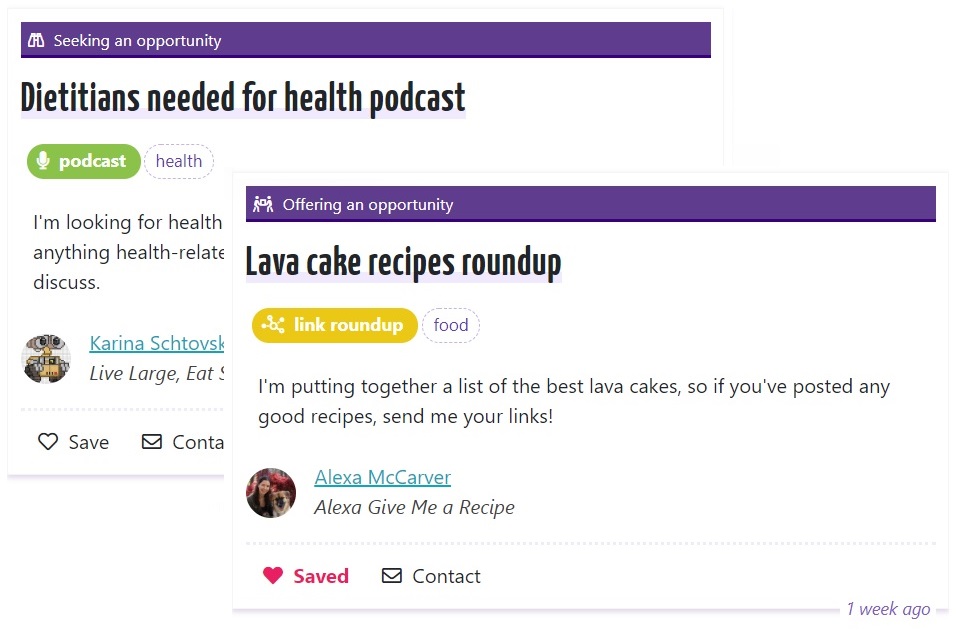
Find blogs that accept guest posts
Add requests to collaborate
Access members-only opportunities
This page contains affiliate links which give us a small commission at no cost to you. You can read our full disclaimer here.
Starting a membership site is beyond exciting when you’re full of ideas for it.
I thought about, researched, and worked on this blogging community for years before it came to be the site it is now.
Why’d it take so long, you wonder?
Because this membership site isn’t like most others.
Bloggers typically make membership sites around their knowledge and the digital products they create. Their offerings can be anything from stock photos and training videos, to group coaching calls and Q&As with them.
If you’re interested in creating something like that, you can use a full-service platform like Podia, Kartra, or Mighty Networks to manage your content and memberships.
That way, many of the tools you need are built in, like email notifications and payment processing.
The reason I didn’t go that route was because my idea for a membership site was something else entirely.
I didn’t want to use a platform, I wanted to create a platform!
I had envisioned a site that would help you easily connect with other bloggers to collaborate with.
A site where you could quickly find guest post and other collab opportunities…that you can join for free!
And creating such things from scratch takes time!
Starting any membership site is obviously a big undertaking, yet it’s still easy to underestimate the amount of work, decisions, and small steps that it involves.
As they say, the devil is in the details.
Here’s a rundown of 44 things we did to start a membership site:
- Come up with an idea and a plan.
- Think of a domain name. (This took months, as everything I thought of was taken, even this domain!)
- Register the domain with free Who.Is privacy.
- Reserve the username on social media sites.
- Research and sign up for a web host.
- Install and configure WordPress.
- Enable a free TLS certificate (also known as SSL) and update my settings so that my site always gets served over a secure https connection.
- Choose and customize a WordPress theme.
- Research and install plugins, like Yoast for SEO and Defender for security.
- Add Google analytics tracking and block my own traffic from the stats.
- Set up a free Google Search Console account to see any problems Google finds indexing my site.
- Create some general content.
- Find free fonts and stock photos to use in graphics.
- Learn how to use GIMP, a free graphic design program.
- Create graphics–primarily pins–for my content. (It was months before the graphics I made were decent, this was not an easy step!)
- Set up a Pinterest business account, enable rich pins, and pin my content.
- Create board cover images for my main Pinterest boards.
- Apply to join group boards on Pinterest to circulate my pins to a wider audience.
- Set up Tailwind to get my pins shared.
- Schedule other people’s pins in Tailwind, because you can’t add your pins to tribes without also sharing others’ pins.
- Set up ConvertKit and create a newsletter popup to start collecting emails.
- Create an opt-in freebie, then delete it after only two downloads. (I decided I’d rather people join my mailing list because they were interested in what I was building–a blogger collabs platform–rather than just to get a free checklist.)
- Sign up for the affiliate programs of the online services I use. (This community is free to join and it doesn’t have ads; I need some way to pay for it!)
- Brainstorm and develop two of the featured resources for members: the videos feed and the blogging newsfeed.
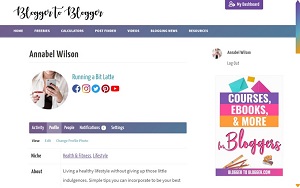
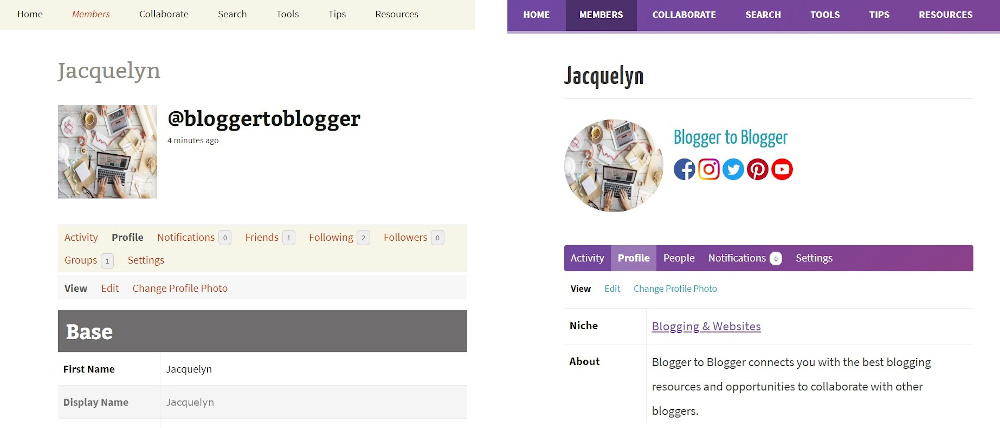
- Install the Buddypress plugin, which allows people to sign up for an account on my site, create a profile, and interact with other members. (Finally something actually specific to a membership site, right?)
- Customize and test Buddypress. (Its default style was ugly, and I wanted to expand the member profiles.)
- Sign up for an inexpensive G Suite account through Google to send emails using my domain @bloggertoblogger.com.
- Install and configure an SMTP plugin to deliver automated emails. (This is so that registration confirmation emails don’t end up in people’s spam folders.)
- Get proper terms, privacy, and disclaimer pages via this legal bundle.
- Purchase and integrate member-management software, Restrict Content Pro, to manage membership levels and permissions. (I had previously used two other management plugins that I later decided weren’t good enough. I chose RCP over other pricier plugins because they were the company that still offers a lifetime plan.)
- Integrate ConvertKit with RCP so that when people register they can choose to be added to my mailing list.
- Go through my content to change who (members vs non-members) can access which content.
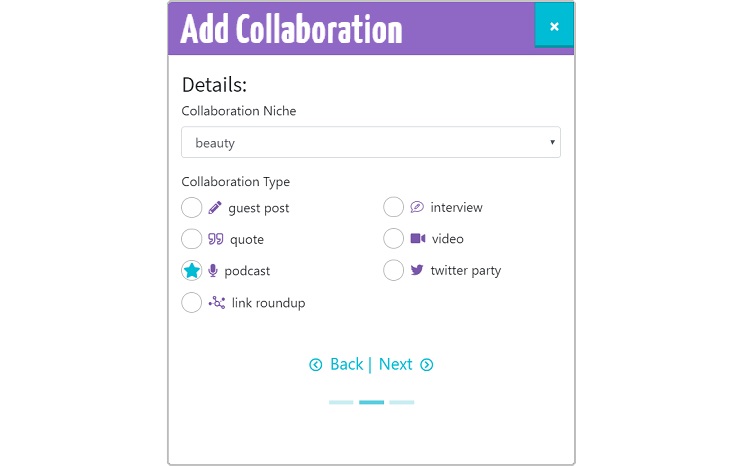
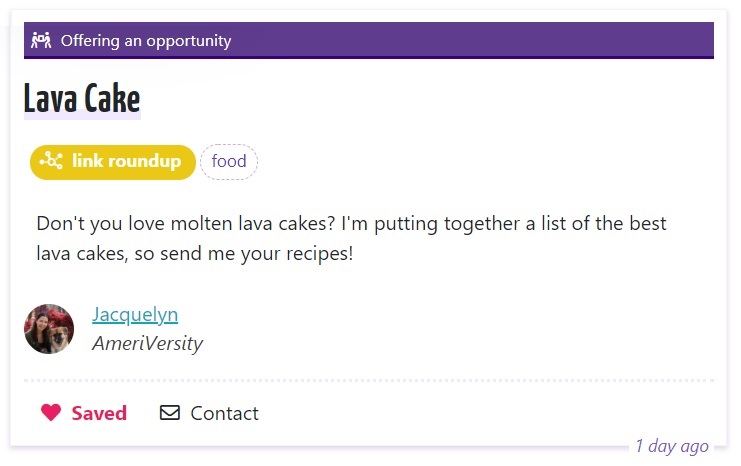
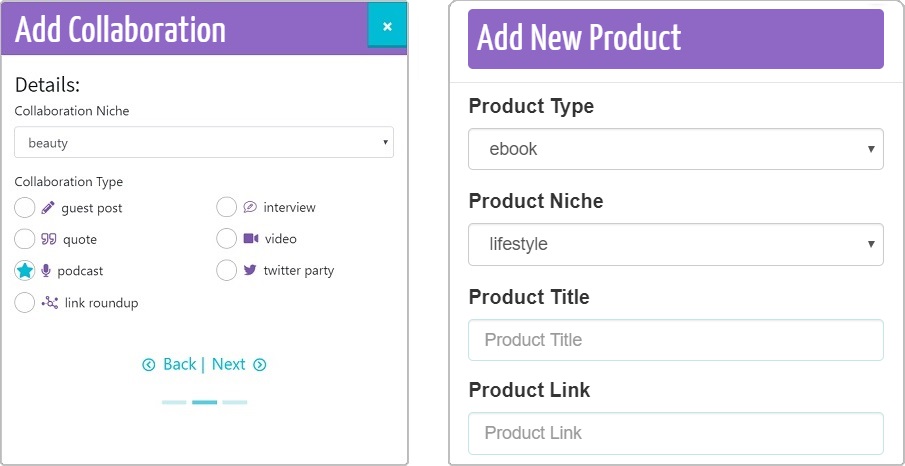
- Create our custom membership features. (It’s funny how hundreds of hours of work can be summed up in five words! One of the features we created gives members the ability to add & save a specific request to collaborate, and another gives them the ability to add their digital products & services to our directories. Five words…psh!)
- Fill in content for some of the new features (e.g. the searchable affiliate programs, products, and services directories).
- Create a landing page to promote the membership benefits. (I coded mine, but you can build yours with the free Elementor plugin, or get this bundle of landing page templates with 12 ready-made designs!)
- Sign up for and configure Mailgun to send transactional emails (like confirmation emails). G Suite has a limit on how many emails can be sent, and I wanted a system in place that could scale beyond that limit. (I still use G Suite to send and receive my email, though.)
- Edit the default transactional emails that RCP sends out.
- Register an LLC. (Woot woot! This is the company I used to register. I chose them because they also serve as my registered agent, and I got to use their address on my LLC forms so that my home address wouldn’t be on the public record.)
- Go through the user workflow one more time to make sure everything works (e.g. creating an account, editing my profile, adding a collab request, etc).
- Delete all the test user accounts I created, as well as clean up extraneous test code.
- Change all promotional messages on this site and ConvertKit forms from coming soon to available now.
- LAUNCH!!! Email my list about the launch and how they can join.
- Continue blogger outreach.
- Write and promote more blog posts about this awesome community for bloggers. 😀


👇 Join for free! 👇